San Francisco, CA
Before & After Gallery in San Francisco, CA
Real San Francisco fixtures we have reglazed — cast-iron tubs, fiberglass showers, porcelain sinks, vanity tops and tile. Hover or tap each pair to reveal the result.
Mon–Fri 8 AM–6 PM, Sat 9 AM–4 PM
What you are looking at
Every pair below is the same fixture before and after a full reglaze — same camera angle, same room, no swaps. These are the surfaces San Francisco bathrooms are full of: early-1900s cast-iron tubs in Noe Valley and the Mission, yellowed one-piece fiberglass units in Sunset and Richmond apartments, chipped porcelain pedestal sinks, etched cultured-marble vanity tops, and dated 4x4 wall tile. None of them were replaced. Each was cleaned, repaired, etched or scuff-sanded, primed and sprayed with acrylic-urethane, then re-caulked and handed back ready to use in 24–48 hours.
The point of a before-and-after is not a glamour shot. It is proof that a tired, sound fixture does not need a tear-out. Hover or tap any image to slide from the worn original to the finished surface.
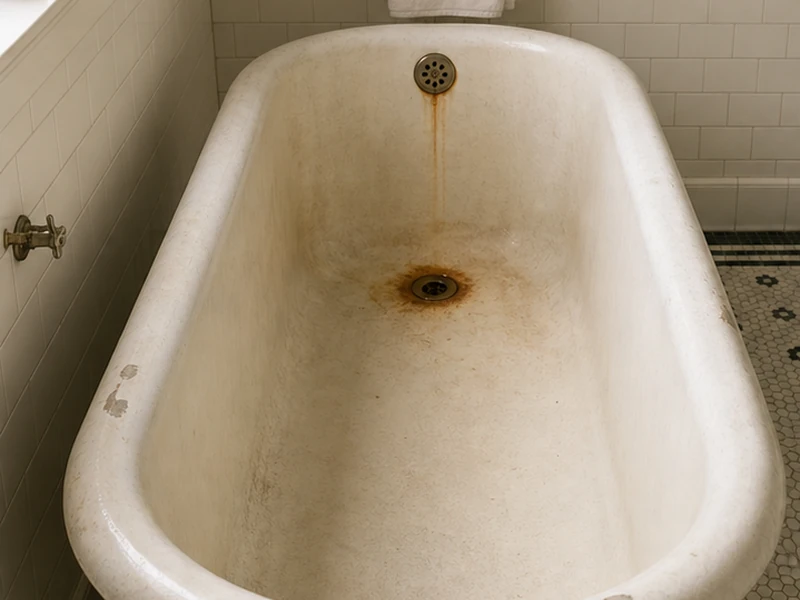
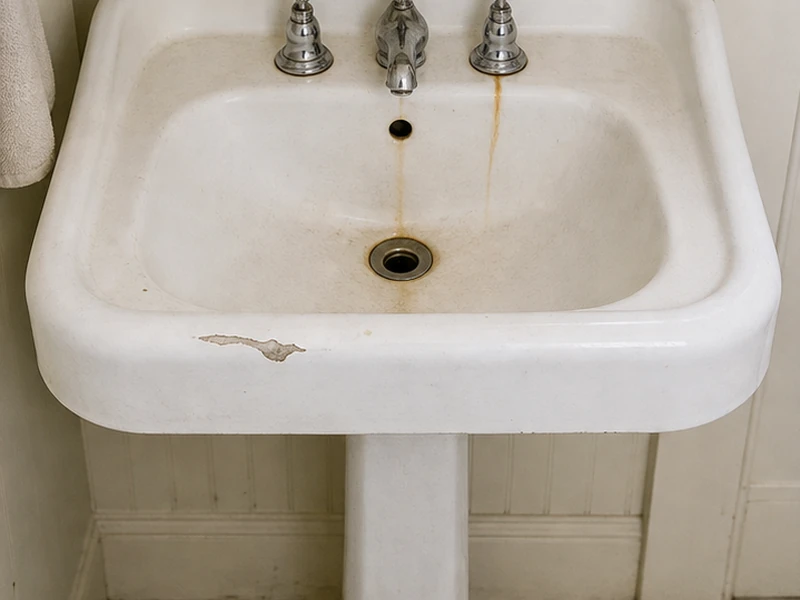
If you are deciding whether your own tub is worth saving, the "before" frames are the useful part. Dull, chalky enamel, rust trailing from the drain, a couple of chipped rim corners, crazed gelcoat, yellowed cultured marble, dated tile color — every one of those is a finish problem, not a structural one, and every one reglazes. What does not reglaze is a cracked-through cast-iron shell or a fiberglass floor that flexes underfoot, and we will tell you plainly if that is what you have. For the rest, the pairs below are the closest thing to seeing your own bathroom finished.
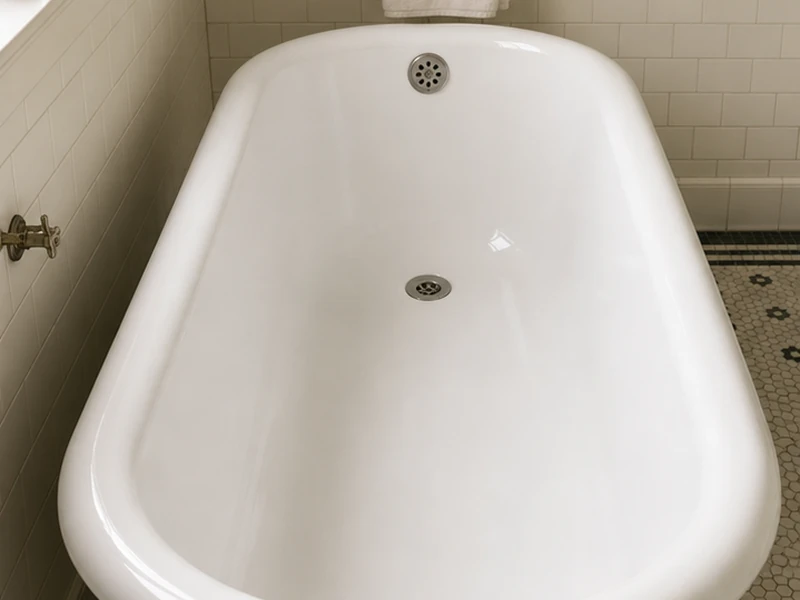
Cast-iron bathtub — Noe Valley
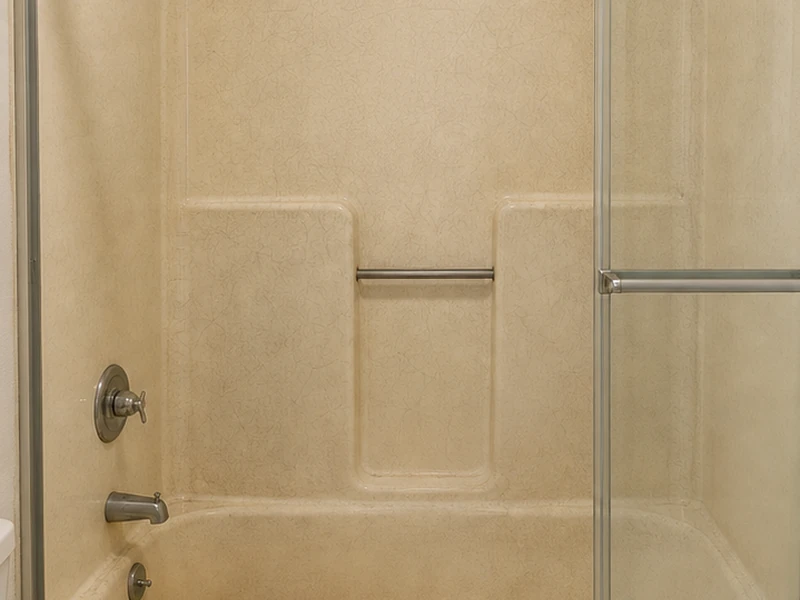
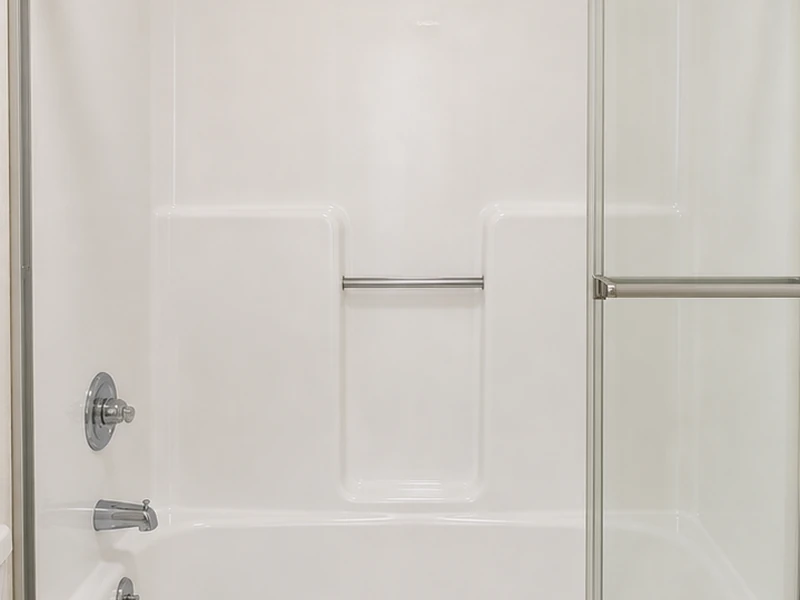
Fiberglass shower unit — Outer Sunset
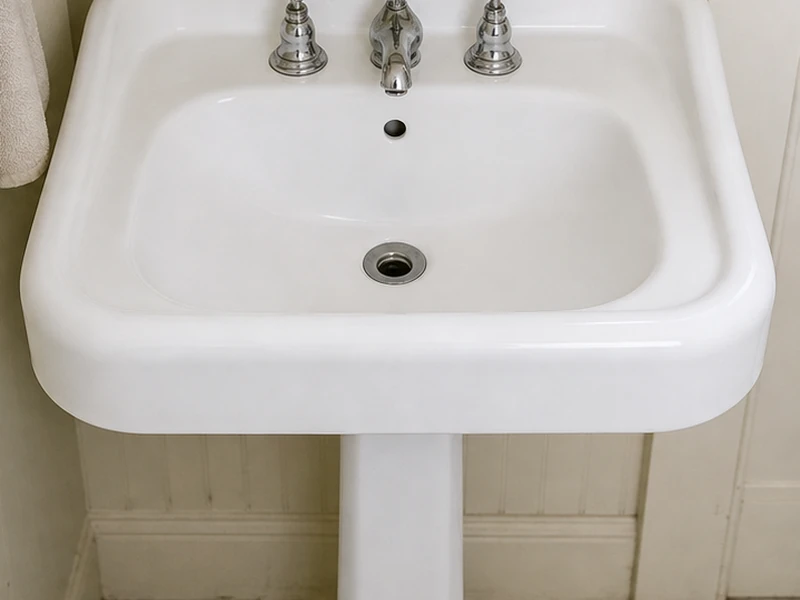
Porcelain pedestal sink — the Mission
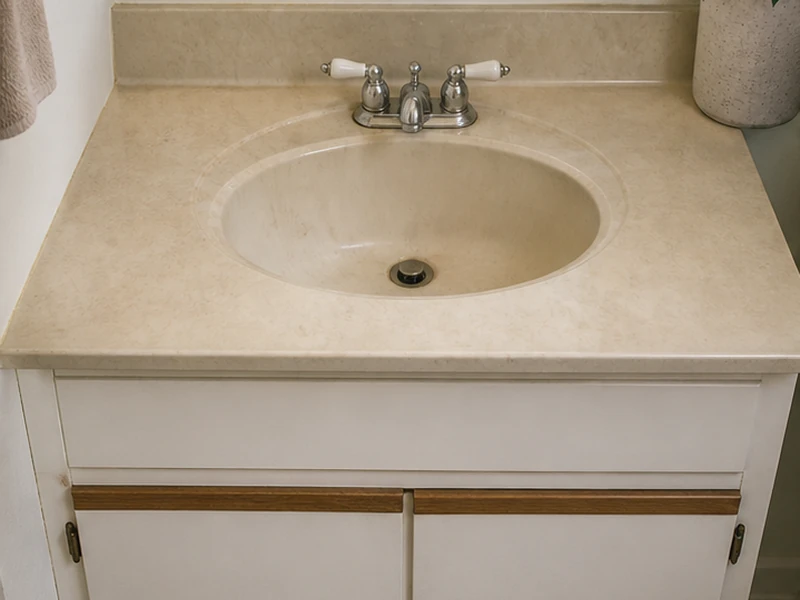
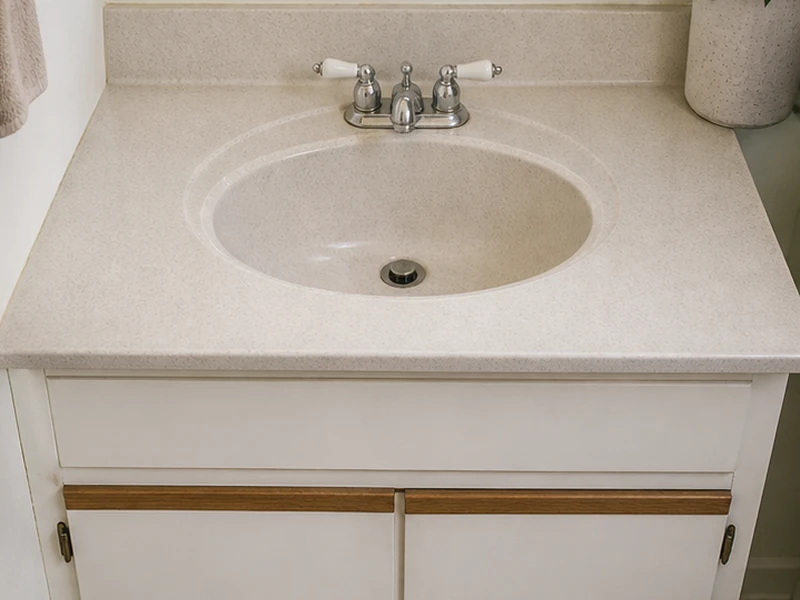
Cultured-marble vanity top — Pacific Heights
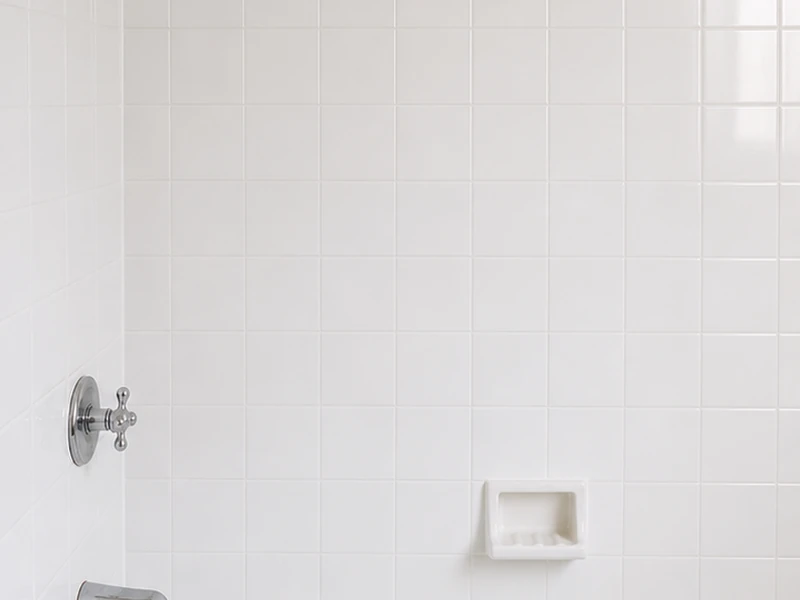
Bathroom wall tile — Richmond District

Why these results hold up
The difference between a finish that lasts 10–15 years and one that peels in a season is almost entirely prep. On the cast-iron and porcelain pieces above, we acid-etch the enamel so the bonding primer grips a micro-roughened surface instead of a slick one. On the fiberglass shower and the cultured-marble vanity, an acid etch would do nothing, so we scuff-sand and use an adhesion promoter instead. Skipping that step is the single most common reason a DIY kit delaminates, and it is why a stripped-and-recoated failed job costs more than a clean first reglaze.
The other half is application. Acrylic-urethane sprayed in several thin, even coats inside a masked, ventilated room lays down flat and glossy. The same product flooded on too thick, or rolled by hand, sags and orange-peels. Every pair on this page was sprayed under containment, cured 24–48 hours, and re-caulked with fresh silicone before handover. If you have a tub, sink, vanity or tile wall in Bernal Heights, the Castro, Glen Park or anywhere across San Francisco that looks like one of the "before" shots, it is almost certainly a candidate.
One more thing the pairs show that a single photo cannot: scale of value. The Noe Valley cast-iron tub above stood in for a $5,000-plus tear-out and kept its original 1912 footprint and surrounding hex tile. The Outer Sunset fiberglass unit would have meant cutting out a one-piece molded surround and retiling a whole wall. The Richmond tile wall recolored tile-for-tile with no demolition and no new grout lines to match. In each case the finished surface cost a quarter to a half of replacement, went back into service in two days, and carries a written 5-year warranty. That is the real before-and-after — not just how it looks, but what it saved.
Ready to see your own fixture on this page? Send a few daylight photos through our contact page or call (650) 710-4607, and we will tell you the same day whether it is a candidate and what it will cost. The pricing page lists every service, and the process page shows exactly how each result above was built.
Your tub could be the next "after"
Mon–Fri 8 AM–6 PM, Sat 9 AM–4 PM. Fully licensed & insured.